REVIEW · SIEM REAP
Professional Photoshoot in Angkor Archaeological Park
Book on GetYourGuide →Operated by Angkor Tour Guide · Bookable on GetYourGuide
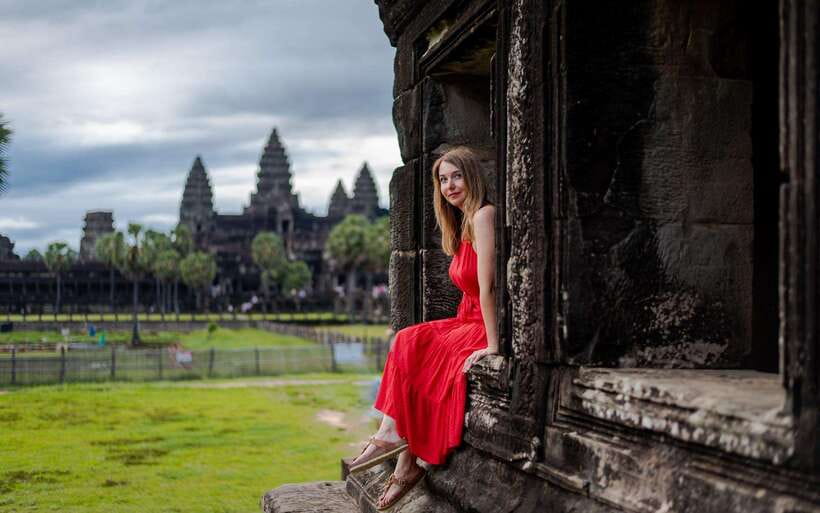
Angkor looks different through a camera plan. I love the chance to shoot Angkor Wat sunrise and the promise of both polished edits and the original raw files. You’ll also get guided temple stops like Ta Prohm and Bayon with help on posing and photo angles. One consideration: you start very early, and the Angkor Heritage Pass isn’t included.
This is built as a private session for your party (while still capped at a small group size of 8). I like that hotel pickup and drop-off are included, and you’ll use a separate entrance to help you skip the line and get to shooting faster.
For the price, the real value is what you take home: a private Google Drive gallery with downloadable high-resolution photos. With the guide and photographer working together, it’s not just sightseeing, it’s a guided photo day with clear direction.
In This Review
- Key things I’d plan around
- A 5:00 am sunrise plan that fits great photography
- The temple route: Angkor Wat, Ta Prohm, East Gate, Bayon
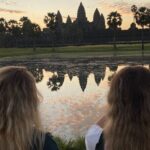
- Angkor Wat sunrise: your main photo set
- Ta Prohm: the Tomb Raider temple look
- East Gate of Angkor Thom: a calmer angle than the usual crowds
- Bayon Temple: the face towers
- How the posing guidance actually changes your photos
- What you get after the tour: edits, raw files, and a private gallery
- Price and value: why $135 can work (or not) for you
- Logistics that affect your day (so you’re not surprised)
- Practical photo tips for the best results on your shoot
- Who this photoshoot suits best
- Should you book this professional Angkor photoshoot?
- FAQ
- What locations are included in the photoshoot?
- What time does pickup happen?
- How long is the experience?
- Is the photoshoot private?
- What photo files do I receive after the tour?
- How do I receive the photos?
- What is included in the price?
- What is not included?
- Can I skip the line?
- What language is the tour guide?
Key things I’d plan around
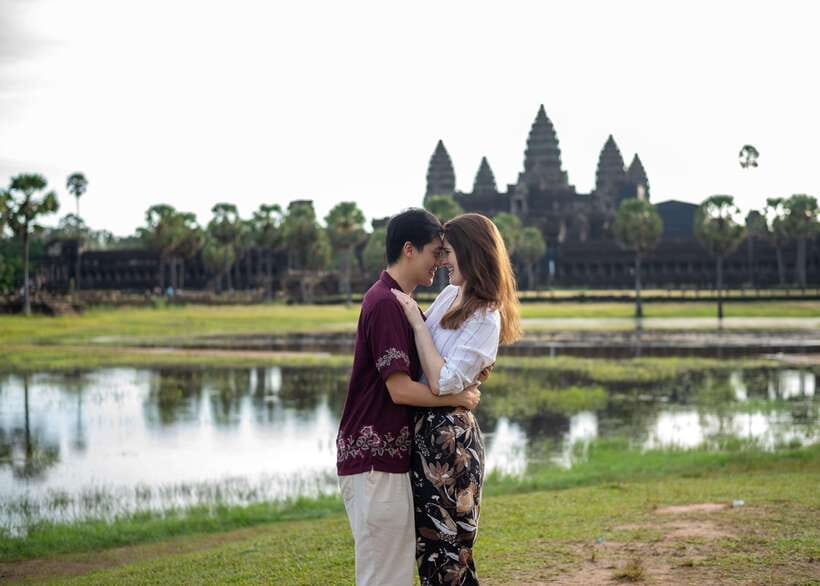
- Angkor Wat at 5:00 am: sunrise timing gives you the best light for photos.
- Raw files plus edited images: you keep both options for sharing and future editing.
- A private experience: your party gets individualized posing and timing.
- Iconic temples plus a lesser-seen stop: Ta Prohm, Bayon, and the East Gate of Angkor Thom.
- Small group cap (8 max): more space for direction and smoother pacing.
A 5:00 am sunrise plan that fits great photography
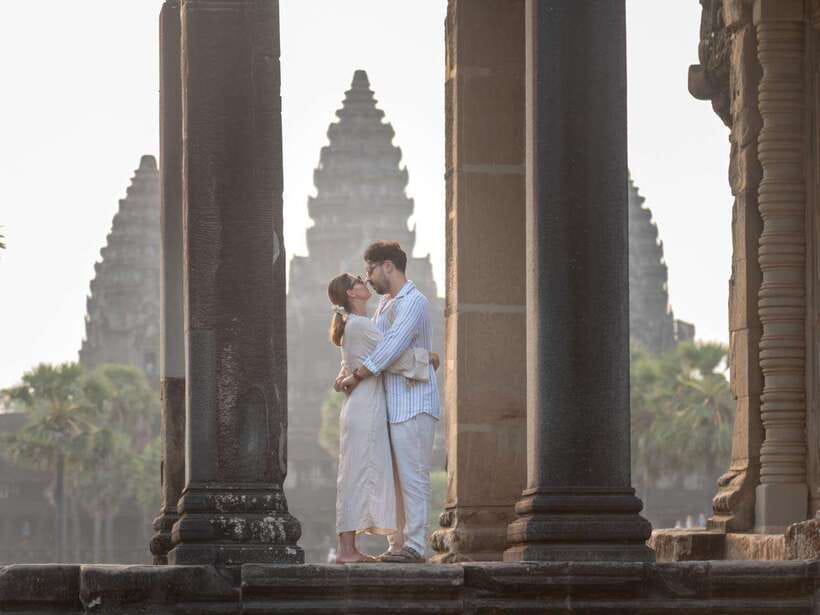
Starting at 5:00 am is the backbone of this session, and it makes a difference for photos. Early morning light at Angkor Wat is usually softer and more flattering, and it helps reduce the harsh contrast that can make faces look tired in full daylight. You’re not just there to admire the view—you’re there to build a photo story.
You’ll get picked up from your hotel around the sunrise start, then you’ll arrive with enough time for the first wave of images. The photographer and guide work together to get you into position, then shoot a series of photos with Angkor Wat as your background. This is where the “professional photoshoot” part matters: you’re guided to stand, turn, and hold poses in ways that match the temple lines behind you.
If you’re thinking, That’s extremely early, you’re right. But if your goal is photos that don’t look like quick snapshots, sunrise timing is one of the best upgrades you can buy in Siem Reap.
You can also read our reviews of more photography tours in Siem Reap
The temple route: Angkor Wat, Ta Prohm, East Gate, Bayon
This is designed around iconic Angkor sights, with a few specific photo advantages built into the route.
Angkor Wat sunrise: your main photo set
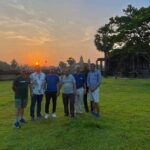
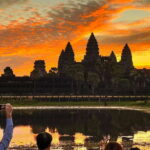
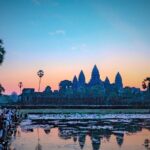
Angkor Wat is the big draw, and this tour treats it like a proper photo session rather than a quick walk-through. You’ll have about 1.5 hours focused on sunrise shooting, and that’s enough time for multiple angles—portraits, couple/family shots, and composition that uses the temple structures as framing.
Practical note: sunrise photography is more about timing than rushing. The guide and photographer will help you choose poses that work with where you’re standing, so you’re not constantly being asked to move at the last second.
Ta Prohm: the Tomb Raider temple look
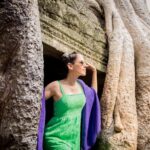
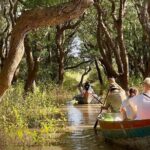
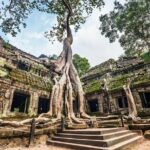
After sunrise, you’ll visit Ta Prohm, known for that famous tangled-tree atmosphere and the Tomb Raider association. For photos, this stop can be especially useful because it brings natural textures—roots, stone, and dramatic shapes—into your background. It’s a great place for portraits that feel cinematic without heavy staging.
A possible drawback: this is one of the most photographed temple areas in the complex, so your best results depend on working with the photographer’s guidance on placement and angles. The good news is that posing direction is part of the package.
East Gate of Angkor Thom: a calmer angle than the usual crowds
The East Gate of Angkor Thom is described as a stop many people don’t always get to see. Even if you’ve been to Angkor before, this can add variety because it’s a different “stage” than the classic temple backdrops. It also helps break up your day with a more gate-focused photo style—arches, stonework, and a strong sense of entry.
In terms of photos, gates are useful because they give you natural lines to lean into. The photographer can use those lines to pull focus to you rather than only the crowd.
Bayon Temple: the face towers
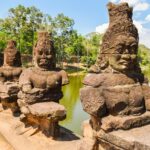
You’ll also visit Bayon Temple, with the iconic face towers. This is the kind of place where photos can look either flat or dramatic depending on where you position. The guide’s job here is more than history: it’s about making sure you see the temple features in a way that supports good framing.
Don’t miss the “God’s faces” on the top towers—Bayon’s personality is exactly in those carved expressions. The best photos usually happen when the photographer helps you align your body and angle so the faces become part of the composition, not just something you look at from below.
How the posing guidance actually changes your photos
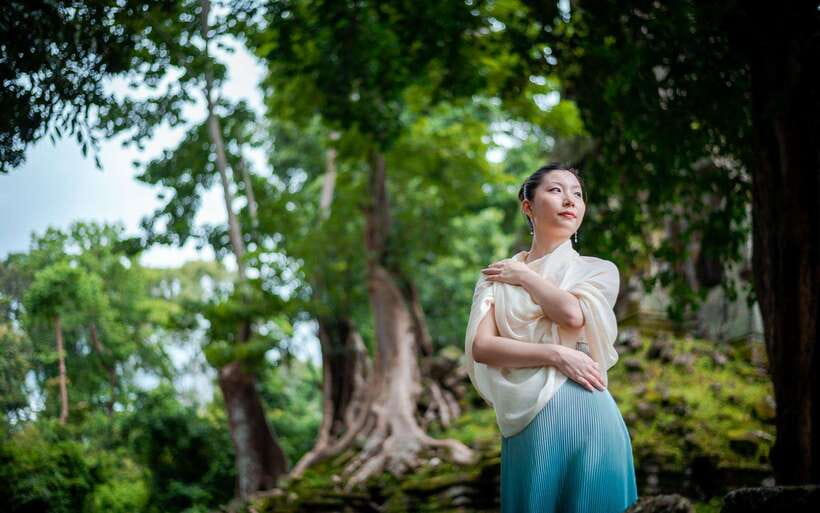
A professional photoshoot should do more than press a shutter. What I like about this one is that it includes a posing model and photography advice, not just a camera-and-go approach.
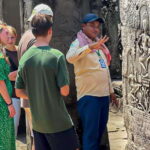
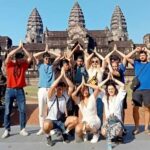
Your guide will give a brief explanation of what you’re seeing, which helps you connect with each location fast. Then the photographer steps in with direction—helping you find poses that match your best looks and the temple backdrop. It’s individualized, too. Couples, families, individuals, and pre-wedding shoots are all specifically mentioned, and the experience is described as 100% personalised to you and your party.
That matters because real travel parties aren’t all the same. Some people want romantic portraits, some want group photos that everyone actually looks comfortable in, and some want a more casual feel with clear direction to keep it moving. A guided shoot keeps you from spending the day arguing with your own camera settings or guessing how to stand in front of ancient stone.
One realistic consideration: if you hate being told where to stand, this tour still involves guidance. But if you’re okay with that trade, you’ll likely get far better results than trying to self-shoot in a busy site.
What you get after the tour: edits, raw files, and a private gallery
This is one of the strongest reasons to consider booking. You’ll receive both the quality editing and the original raw files after the tour. That’s a big deal if you care about editing later, want to choose your favorites carefully, or plan to resize for prints and social sharing.
You’ll also get a private gallery link via Google Drive after the experience. The photos you download are described as high resolution, and the gallery is attached through the Drive link you’ll receive. In other words, you’re not waiting around for a slow handover or relying on low-quality thumbnails.
This delivery setup is practical for people who are organizing photos once they’re back in their hotel room. You can download, sort, and share on your own timeline.
Price and value: why $135 can work (or not) for you
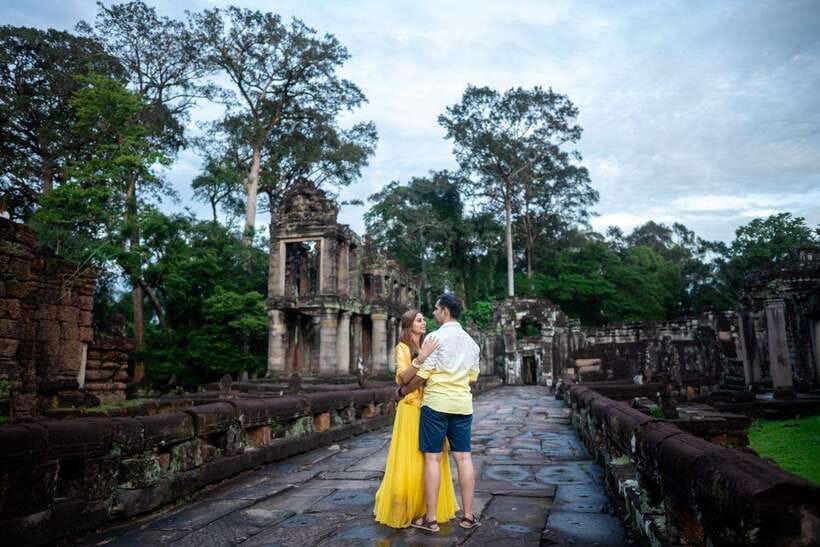
At $135 per person for a 6-hour session, you’re paying for a bundle: hotel pickup and drop-off, a personal guide, photography, water and cold drink, and transportation. You’re also paying for the “time” part—early morning access, structured stops, and professional direction at the exact locations where photos can look their best.
Here’s the value equation I’d use:
- If you’re the type who wants strong, repeatable results (portraits, couples shots, family photos, pre-wedding styling), paying for the photographer and pose direction is usually worth it.
- If your main goal is just temple sightseeing and you’re fine with your phone camera, you might decide this is extra cost.
Also check the exclusions: the Angkor Heritage Pass and meals are not included. That means your all-in budget is higher than the headline price. Still, for many people the convenience and the end photo package outweigh that added spend.
One more value factor: skip-the-line through a separate entrance. At sunrise and early hours, time matters. If you show up late, you miss the light and the efficient photo flow. This tour is built to reduce that stress.
Logistics that affect your day (so you’re not surprised)
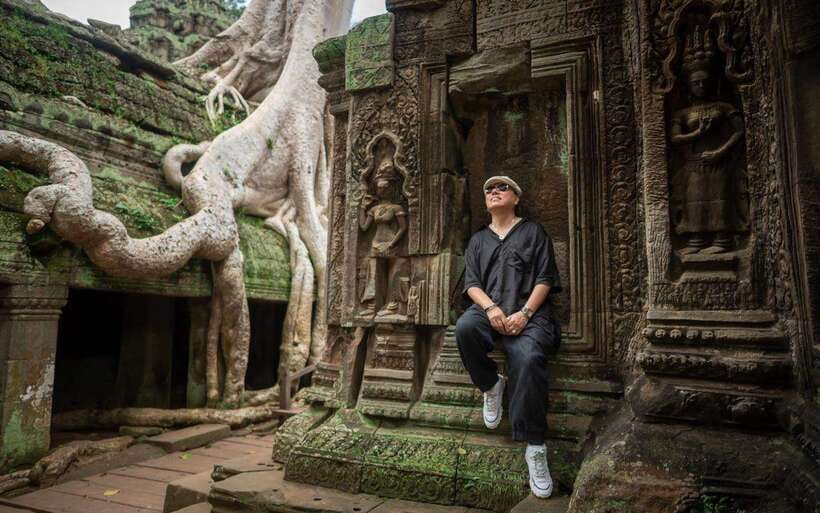
This experience is offered in English, and the tour is described as live-guided. You’re dealing with an early start, a structured route, and multiple temple stops, so keep your schedule simple for that day.
The group size is small (limited to 8 participants), and the experience is private for your party. That combo usually means you’re not constantly squeezed into a wall of people during portraits. It also makes it easier for the photographer to adjust quickly when you’re moving between viewpoints.
Hydration is handled: bottled water and a cold drink are included. Meals aren’t included, so if you’re out from early morning until around midday or early afternoon, it’s smart to plan food for afterward.
Practical photo tips for the best results on your shoot
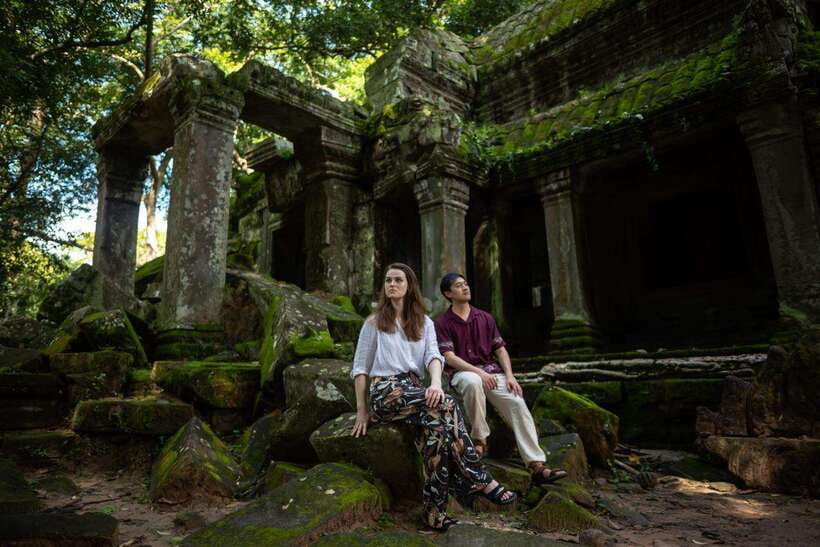
This tour already has the posing model and photography advice, so your job is more about showing up ready.
- Wear something you can move comfortably in while standing and walking through temple areas. You’ll get more natural-looking poses if you’re not fighting your outfit.
- Bring something light for early morning (sunrise can feel cooler than later in the day). Layering is a simple way to stay comfortable through changing temperatures.
- Be clear with your party about what you want: couple portraits, family group shots, or more individual character photos. The photographer can tailor the sequence faster when you have a simple plan.
And one more thing: let the guide and photographer guide the pace. In temple settings, the best shot usually comes from timing and position, not from chasing every angle yourself.
Who this photoshoot suits best
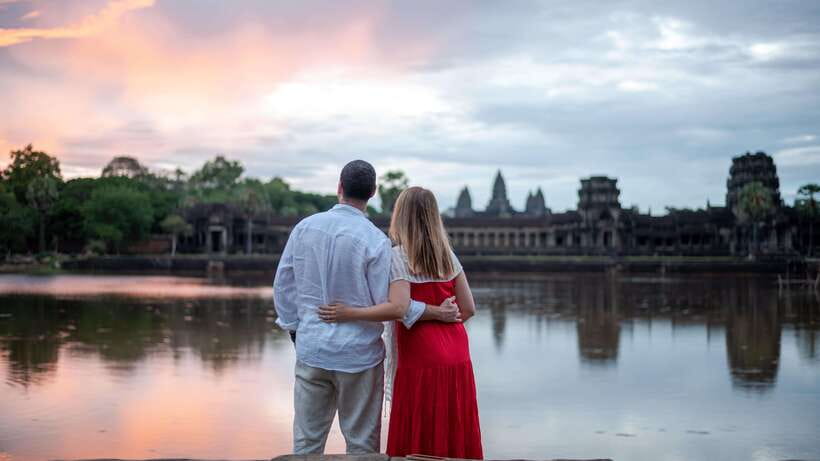
This experience is a strong match if you fall into one of these categories:
- Couples wanting pre-wedding style portraits or just a romantic Angkor Wat sunrise set.
- Families who want everyone in the frame without spending hours trying to coordinate.
- Individuals who want professional temple portraits with actual direction.
- People who want a guided experience that includes history notes plus photography coaching.
If you’re on a tight budget, or you prefer to roam freely without scheduled direction, you may feel the structure is more than you need.
Should you book this professional Angkor photoshoot?
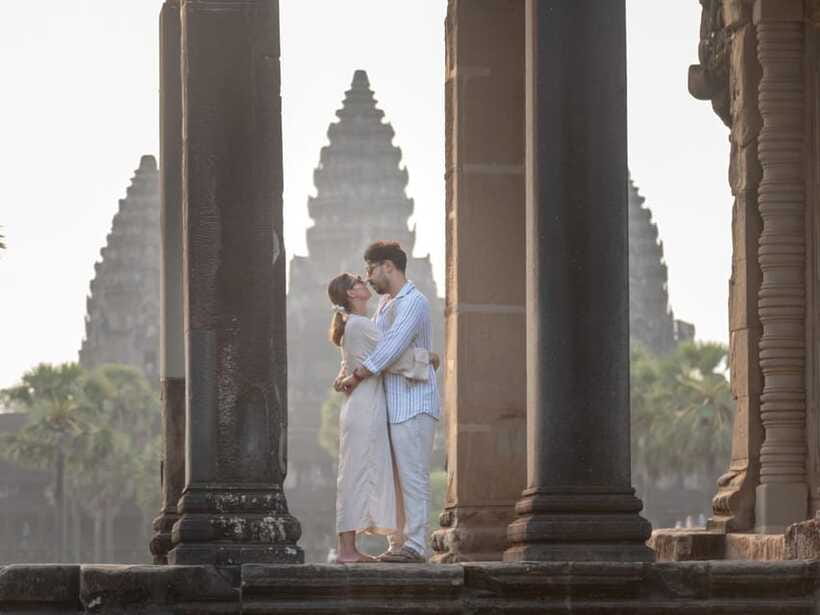
I’d book it if your goal is photos that look like they came from a plan, not a scramble. The combination of sunrise timing, iconic temple stops (Angkor Wat, Ta Prohm, Bayon), and the photo package—edited results plus original raw files delivered via Google Drive—gives you tangible value long after your Siem Reap trip ends.
I’d think twice if you’re mostly interested in temple history and don’t care about professional portraits. In that case, you may prefer to invest in a day ticket and hire a general guide or just take your own photos at your pace.
If you do book, aim for the early start with the mindset of a photo session. You’re paying for light, direction, and deliverables, and that’s exactly what you should expect.
FAQ
What locations are included in the photoshoot?
You’ll visit Angkor Wat (sunrise), Ta Prohm (Tomb Raider temple), the East Gate of Angkor Thom, and Bayon Temple.
What time does pickup happen?
Pickup is arranged at 5:00 am to see the Angkor Wat sunrise.
How long is the experience?
The duration is 6 hours.
Is the photoshoot private?
Yes, the experience is always private for your party.
What photo files do I receive after the tour?
You’ll get both edited photos and the original raw files after the tour.
How do I receive the photos?
After the experience, you’ll receive a private gallery link through Google Drive to download high-resolution photos.
What is included in the price?
Hotel pickup and drop-off, a personal guide, photography, bottled water, a cold drink, and transportation are included.
What is not included?
Angkor Heritage Pass and meals are not included, along with personal expenses.
Can I skip the line?
Yes, skip the line is included through a separate entrance.
What language is the tour guide?
The live tour guide is in English.